Minimal Balcony Planting Workflow: Seed to Harvest
Start with one crop in one final container. That limit makes every stage visible: choosing the crop, planting it correctly, establishing roots, maintaining growth, harvesting, and deciding whether to replant. Use a local Extension planting
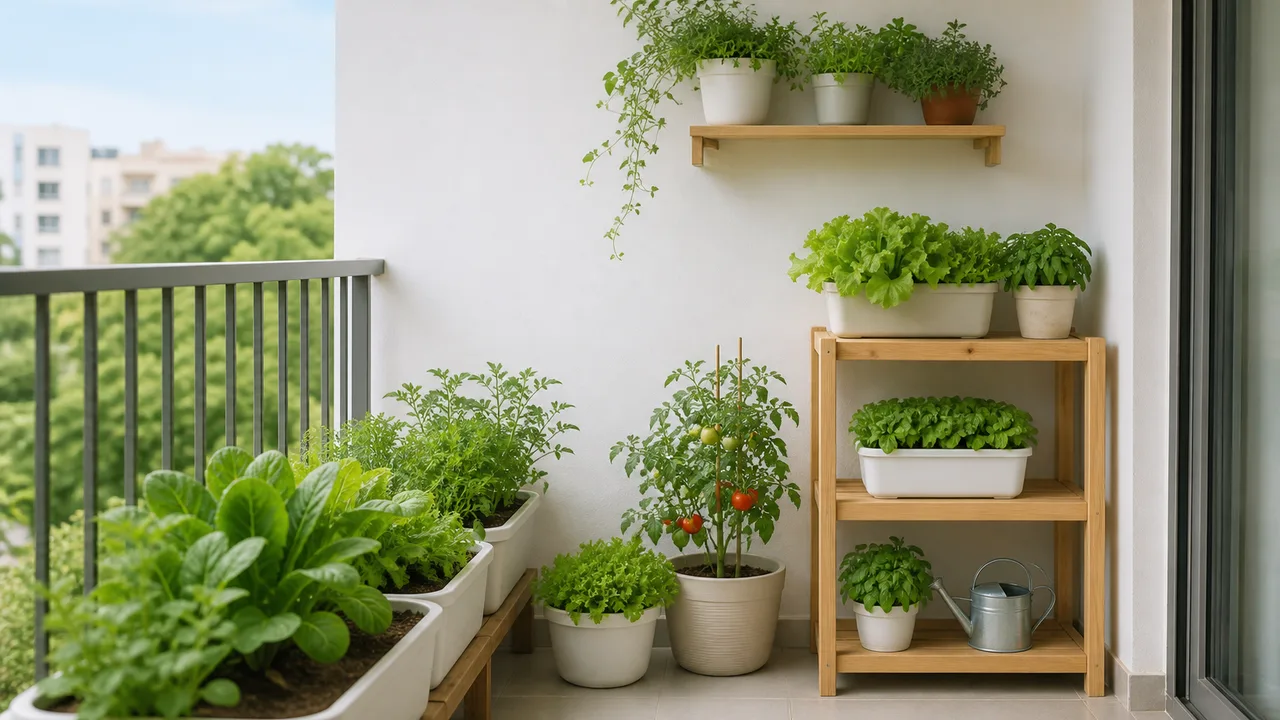
Start with one crop in one final container. That limit makes every stage visible: choosing the crop, planting it correctly, establishing roots, maintaining growth, harvesting, and deciding whether to replant. Use a local Extension planting calendar or equivalent authority for outdoor timing; this workflow does not invent one calendar for every country or climate.
Stage 1: define the finish line
Choose what you intend to harvest and how. A loose-leaf lettuce can supply repeated leaf cuttings; a radish is removed once the root is ready; a compact tomato transplant is a longer project requiring more sun, volume, and support. Read the packet or plant label for mature size, season, spacing, and approximate days to maturity.
Decision: If the crop's light, mature spread, container volume, or season does not fit, change the crop now. Do not plan to repair a mismatch with extra fertilizer.
Ready to continue when: one crop, final container, local planting window, and harvest type are written down.
Stage 2: choose seed or transplant
Direct sow crops whose packet supports sowing in the final container. Leaf lettuce and radish are simple examples, subject to local season. Buying a healthy transplant can remove weeks of indoor seedling work for crops such as tomato or pepper.
Inspect a transplant for compact growth, intact leaves, and roots that are not severely matted. A crop started indoors must be acclimated gradually to outdoor sun, wind, and temperature; do not move a tender seedling from protected conditions straight into a harsh balcony day.
Decision: If you lack a suitable indoor seed-starting setup, buy the transplant or choose a direct-sown crop. “From seed” should not force an unnecessary indoor system.
Stage 3: prepare the final container
Confirm drainage or the designed overflow of a self-watering planter. Use container potting mix rather than straight garden soil. Moisten dry mix before filling, place it loosely rather than packing it, and leave space below the rim so irrigation can soak in without carrying mix over the edge.
Resolve building rules, runoff, and load before filling a large pot. Install a crop support now if later insertion would damage roots.
Ready to continue when: water can enter the mix and excess can leave without creating a hazard below.
Stage 4A: direct sow
Use the packet's depth and spacing. Label the crop and sowing date. Water gently enough that seed and mix stay in place. During germination, keep the seed zone adequately moist without leaving the container saturated.
When seedlings appear, give them the light conditions specified for the crop. Thin extras to the final spacing instead of preserving every sprout. Crowded seedlings compete before the garden has truly begun.
Recovery: If no seedlings appear by the packet's expected range, check whether the seed zone dried, stayed waterlogged, experienced unsuitable temperature, or contained old seed. Correct one issue and resow a small section rather than adding fertilizer.
Stage 4B: plant a transplant
Water the transplant before handling if its root ball is dry. Remove it without pulling the stem, gently loosen severely circling outer roots, and place it at the depth recommended for that crop. Water to settle the mix, then protect the newly planted crop from abrupt wind or intense exposure while it establishes.
Recovery: If the plant wilts immediately, check root-zone moisture and exposure before watering again. A wet root ball and a dry root ball can both accompany wilt; inspect rather than assume.
Stage 5: confirm establishment
For a direct-sown crop, establishment means the retained seedlings produce new growth after thinning. For a transplant, it means new growth resumes and the root ball no longer shifts in the mix. Record the date of that observation; it is more useful than pretending every plant follows the same number of days.
Check moisture according to the container, weather, material, and plant size. Water thoroughly when needed and allow drainage. Do not add fertilizer until you know what the potting mix already contains and what the product label directs.
Stage 6: switch from establishment to maintenance
Once a week, record four things: new growth, root-zone moisture pattern, leaf damage, and any feeding. Check support ties before stems thicken around them. Thin or harvest leaves before crowding closes airflow. Identify a pest or disorder before choosing a treatment.
Decision: Record adjustments separately where practical. If growth stalls, inspect light, temperature, root volume, drainage, and moisture pattern before assuming fertilizer is the answer.
Stage 7: harvest by crop cue
Use the packet or crop guidance, not size comparisons from social media. Days to maturity are approximate. Follow crop-specific instructions for the edible part, harvest method and maturity cue.
Use clean cutting tools where a cut is appropriate.
Expected result: a usable harvest plus a record of sowing/planting date, first establishment, first harvest, and the care issue that mattered most.
Stage 8: reset, repeat, or succeed the crop
When a plant becomes unproductive, diseased beyond practical recovery, or seasonally unsuitable, remove it. UMD advises discarding used container mix when root disease was a problem; otherwise, inspect its condition and follow current container-mix guidance before reuse. A finished quick crop can be followed by another only when the local season and container conditions fit.
For a repeat sowing, change the one constraint the record exposed: timing, crop choice, spacing, container, or watering access. The complete workflow is not “plant and hope.” It is a closed loop from a defined crop decision to a documented next planting.
Sources
This guide provides general educational information. Conditions, regulations, structures and plant requirements vary; verify decisions against your own site and relevant local guidance.